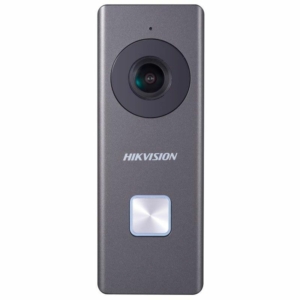
The attractive Wi-Fi IP video panel Hikvision DS-KV8113-WME1(C)/Flush has Wi-Fi support, convenient setup and no need for wiring. Web configuration support. Aluminum alloy, nice industrial design, IP65, IK08, 3 built-in indicators. Internal Mifare card reader, 1-channel control station. Noise cancellation and echo cancellation. 2-megapixel HD camera with IR illumination. Standard PoE/12 V DC power supply.
Design
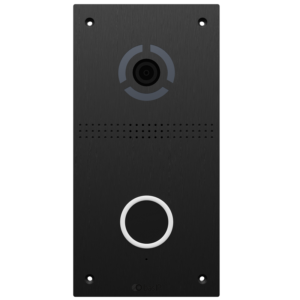
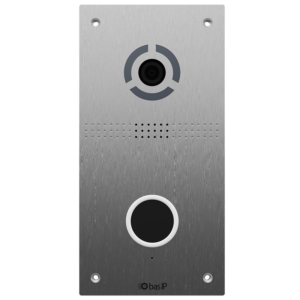
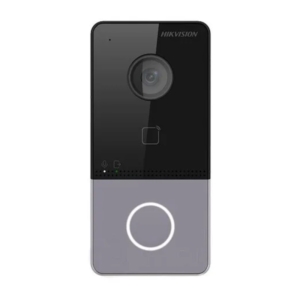
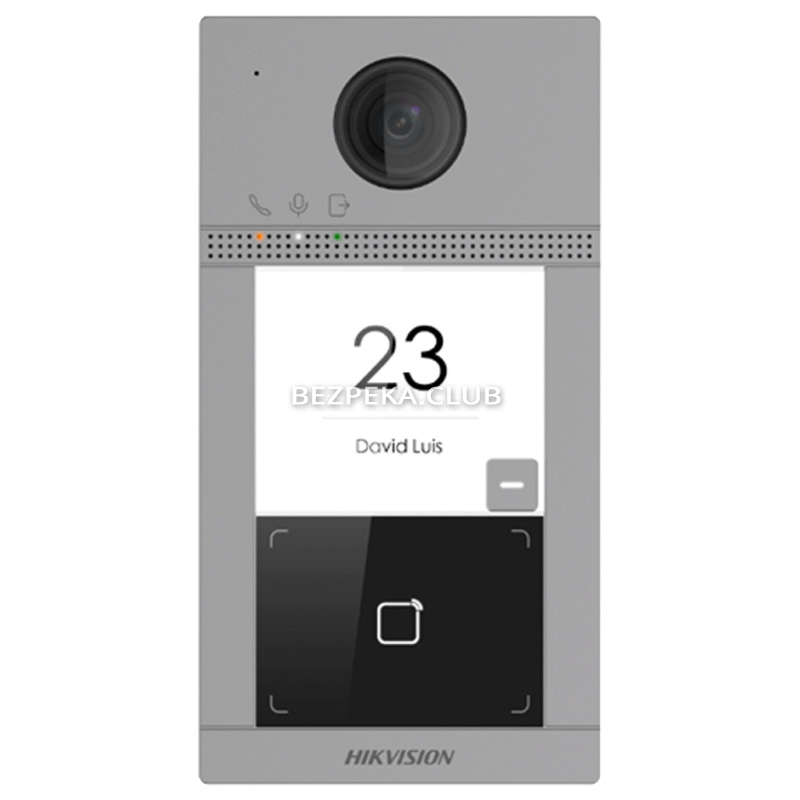
The panel has a technological style. The device has an anti-vandal case. The video panel is suitable for any interior.
FeaturesHikvision DS-KV8113-WME1(C)/Flush
- Number of subscribers: 1;
- Operation method: mechanical button;
- Card reader: Mifare;
- Camera: 2MP HD;
- Resolution: 1920 × 1080;
- Viewing angles: H: 124°; In: 75°;
- Audio input: built-in microphone;
- Audio output: built-in speaker;
- Audio compression: G.711 U, G.711 A;
- Illumination type: IR;
- Alarm inputs: 4;
- RS485: 1;
- Ethernet: 10/100 Mbps;
- Wi-Fi: 802.11 b/g/n;
- Network protocols: TCP/IP, RTSP;
- Power supply: 12 V DC;
- PoE;
- Power consumption: 10 W;
- Operating temperature: -40°C – 53°C;
- Degree of protection: IP65, IK08;
- Dimensions: 174 × 91 × 29 mm;
- Mounting: recessed;
- Weight: 700 g.
Purpose
The Hikvision DS-KV8113-WME1(C)/Flush video panel is designed to provide safe and controlled access to an apartment, private house, office or other living or working space. Allows you to see the visitor and talk to him while inside the room, without having to open the door.
Management bodies
On the front panel there is:
- built-in camera lens;
- infrared camera illumination;
- card reader;
- microphone;
- speaker.
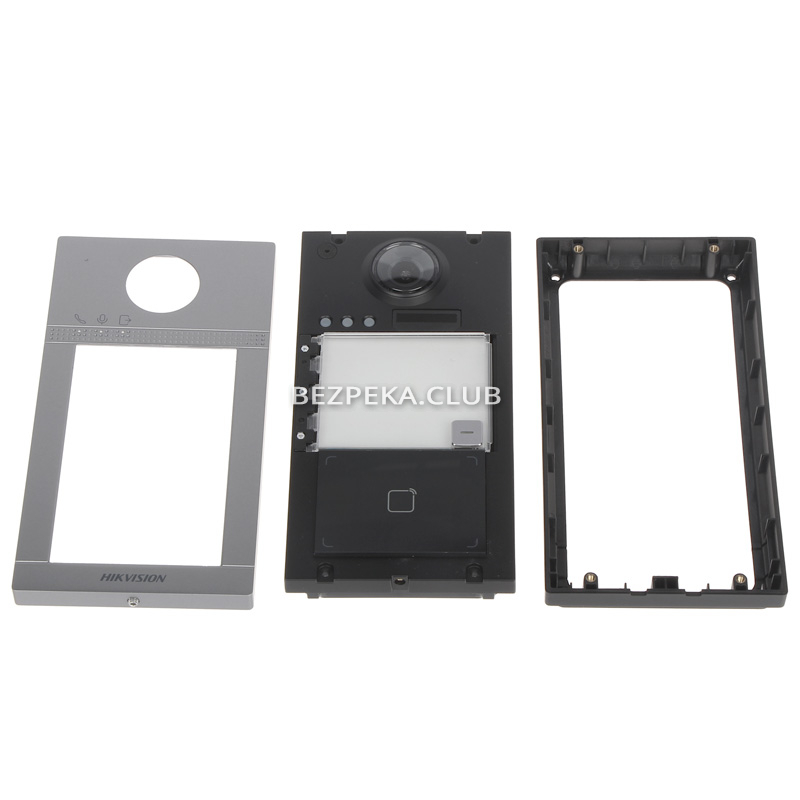
Assembly
The Hikvision DS-KV8113-WME1(C)/Flush kit includes:
- callout bar;
- fastening elements and connecting wires;
Compatibility
The Hikvision DS-KV8113-WME1(C)/Flush video panel is compatible with IP video intercoms.
Price Hikvision DS-KV8113-WME1(C)/Flush
When buying this product in the Bezpeka Club marketplace, you can always be sure of the best price, as we regularly monitor market prices for security system products. The price of the product includes pre-sale consultation, technical support, official warranty.
Installation
- Drill holes in the wall at the desired height.
- Undo the set screw at the bottom of the panel and remove it from the bracket.
- Fix the bracket to the wall with screws.
- Run the cables through the wall and bracket and connect the call panel.
- Install the panel on the bracket and secure it with the fixing screw at the bottom.


/Flush")
/Flush - Image 2")